Blog
How to Identify Vinyl Pressings: A Step‑by‑Step Guide
To correctly identify vinyl pressings, you can usually combine what is printed on the cover or label with the tiny codes etched in the runout groove. By matching all of these details to entries in online databases like Discogs, you can determine exactly which version of a record you own.
Step 1: Start With Obvious Information
Before examining the vinyl itself, look at the jacket and spine for the most accessible details. Note the album title, artist, record label, catalog number, and the barcode or UPC.
You should also look for the country of manufacture, the year, and any specific text such as “Made in…” or “Remastered…” notes. These text indicators can often distinguish modern reissues from earlier pressings.
Next, check the record labels (center stickers). Look for specific label logo designs and color variants that may correspond to specific years or manufacturing plants. The side indicators (Side A/B), playback speed, and catalog number on the label must match or closely align with what is printed on the jacket.
Step 2: Read the Runout (Dead Wax)
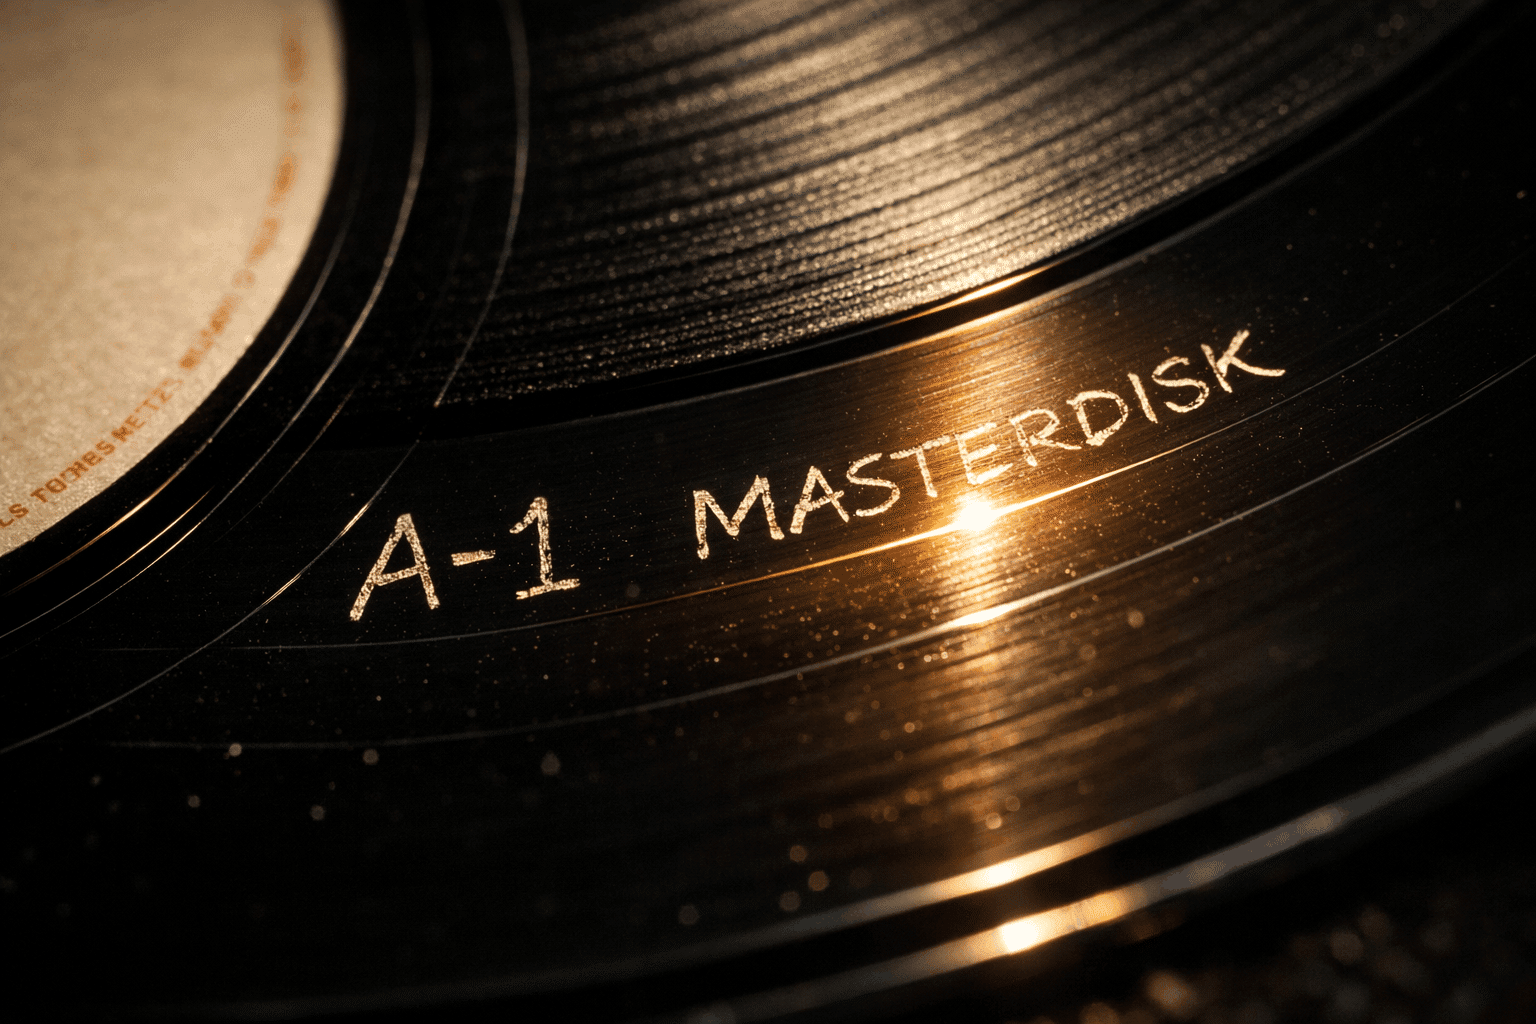
The non-grooved area near the label is known as the runout or “dead wax,” and this is where most pressing-specific information lives. The etched or stamped matrix numbers (letters and numbers) found here identify the lacquer cut, the pressing plant, and sometimes the mastering engineer.
First or early cuts often feature patterns like A1/B1, 1A/1B, or -1/-1 on each side, while later recuts move to higher letters or numbers.
When examining the dead wax, look for extra marks, including:
- Mastering engineer initials: Initials such as RL, BG, or PORKY must match what is listed for a particular pressing.
- Pressing plant symbols: Look for specific logos or letter codes associated with certain plants.
Step 3: Use Discogs to Identify Vinyl Pressings
Once you have the catalog number, label, and matrix/runout codes, use them together in a database search. Enter the matrix/runout codes exactly as they are etched—including dashes and letters—into Discogs or a search engine. This specific search usually narrows the results down to one or a few specific pressings.
To confirm a positive ID, cross-check all details. The jacket variations, label artwork, barcodes, country of origin, and matrix info must all match the listing.
Other helpful resources include MusicBrainz, label discographies, and collector forums such as Steve Hoffman or Reddit r/vinyl. These sites often document subtle pressing differences and known first pressings.
Step 4: Spotting First vs. Later Pressings
To see if your record is an early or “first” pressing, look especially closely at the runout and label details. Some guides specifically explain typical “first pressing” matrix formats and label changes over time.
Generally, first pressings commonly have the earliest lacquer numbers (e.g., A1/B1 or 1A/1B) and matching early cuts on both sides. However, note that this is not a universal rule; some labels started with higher numbers or used different coding systems entirely.
Additionally, original labels may feature different color schemes, a matte finish versus a glossy one, or older logo designs compared to later reissues.
Step 5: Quick Step-by-Step Checklist
If you are ready to identify a record, follow this workflow:
- Note the catalog number, label, and barcode from the jacket and spine.
- Inspect the label design, text layout, and any country or rights info.
- Carefully read and write down the full matrix/runout codes and any initials or symbols from both sides.
- Search the matrix codes plus the catalog number in Discogs and compare every detail with the photos and notes.